


At Tadpac, we’re always looking for ways to make ordering printed materials easier for our customers. That’s why we’re excited to introduce …
Cart.

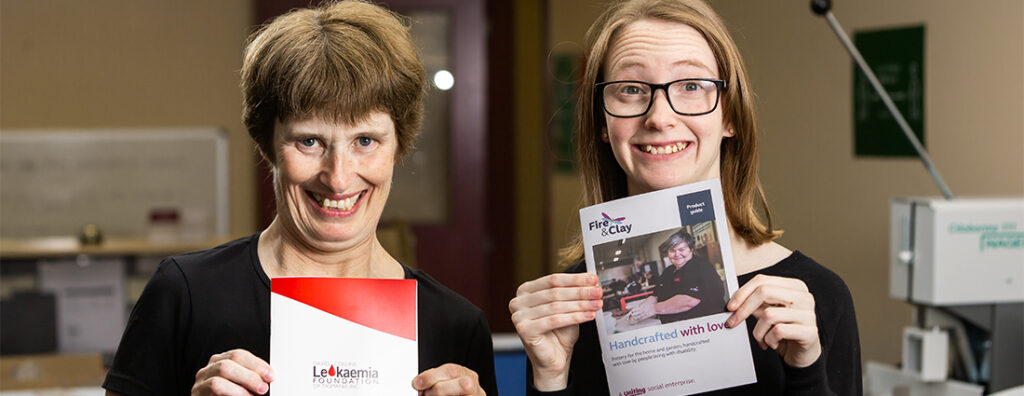
Companies increasingly look for ways to align their operations with social impact goals. One of the most effective ways to do this …
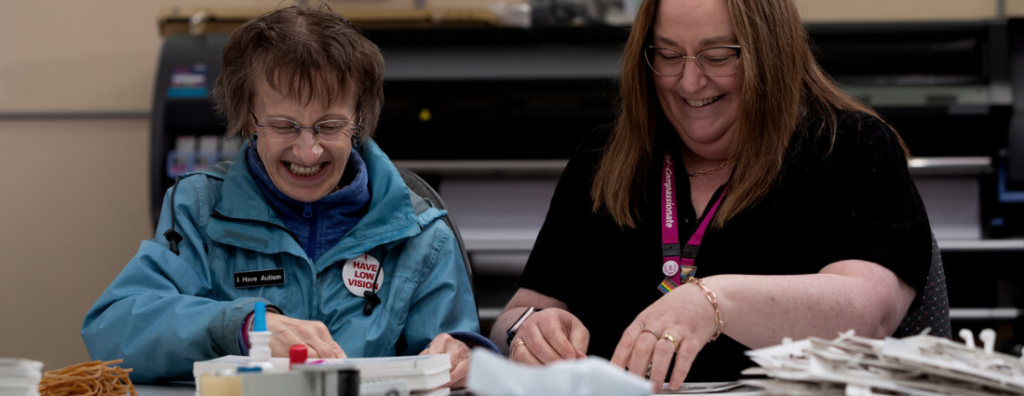
At Tadpac, we are proud to announce that we’ve achieved certification as a social enterprise through Social Traders. This recognition affirms our …

Sustainability is a top priority for us at Tadpac, and one way we are reducing our environmental footprint is by using Konica …

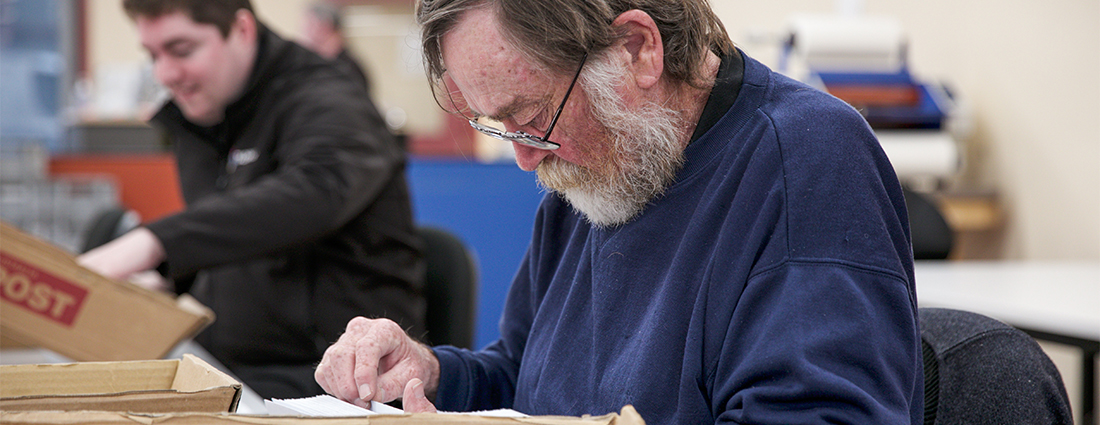
It was a single game of table tennis – a sport Bruce both didn’t enjoy nor claimed to be any good at …
When it comes to selecting paper for your printing projects, the choices can be overwhelming. Each paper type has unique characteristics, making …